
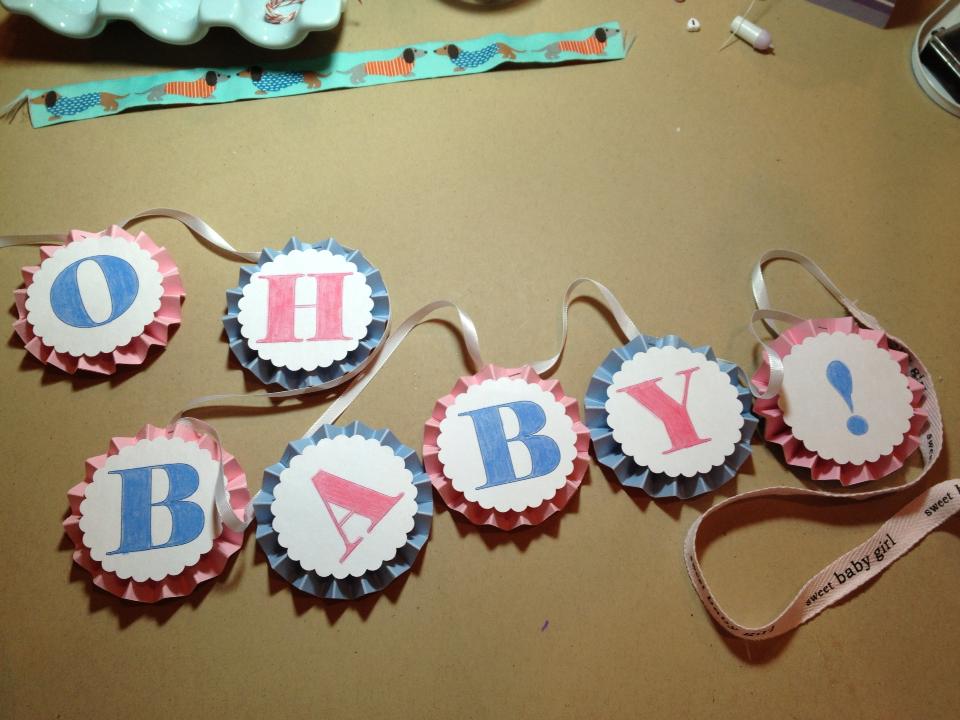
I wanted to make a little banner for a guy at work who is expecting their first baby. Okay, that doesn't sound right but you know what I mean. I'm going to tell you how to make it but I'll save you from making all the mistakes I made. Normally when I make a banner, I use Martha Stewart's alphabet, which you can find here under birthday templates. But I really wanted to use pink and blue letters and hers are all black. So I used MS Word and picked a font from my collection (Elephant font at 140) and used Word Art/Outline to change the outline to pink/blue and colored them in with colored pencils (Prismacolor my favorite!). I know - a lot of work. For some reason, when I printed the pink from my printer, the color was off no matter how much I worked with the RGB percentages. After wasting an evening with the printer, I was determined to do it my way! I also looked at stamping or embossing but I didn't have the right stamps so this was the final solution.
I printed the letters on white cardstock and punched them out with a scallop punch using the Mega size Marvy scalloped punch (its pink). They have several sizes and you can do two layers, if you're ambitious. My ambition got waylayed by all the "issues".
I made the rosettes by hand. I know, please don't lecture me about silhouettes or cameos or other machines that can do 10 at a time in twenty seconds... I have a Cricut from Black Friday four years ago - it's been used twice. I'm not buying another machine that doesn't pass the three month rule. I cut strips of pink and blue paper one and a quarter inch wide, 8.5 inches long. I used my Scor Pal board, and scored two at a time. With two strips of paper I attached both ends at a peak/valley (the end of the strip) with red line tape. Now I made a mistake with the adhesive, YOU should use a hot glue gun when making the rosettes. Cut a circle out of chipboard (I save it from all kinds of packaging) and you can add patterned paper to make it look nice. But use the glue gun, seriously. It takes a bit of practice getting the rosette to lay flat but just keep working with it. Its also optional to add a chipboard circle on the front, underneath your letter for stability. For the rosette to take shape, I set it inside my redline tape roll to get a consistent shape of the rosette.
I used white ribbon and attached it with the tiny attacher (stapler). Not the best option - it was a pain getting it to catch the ribbon. It would be much smarter attaching it to the cardboard circle on the back side with the hot glue gun!
And because I had trouble attaching the already assembled rosettes, I had to improvise with the ribbon and add some baby boy/baby girl ribbon at the ends and I threw on a plastic diaper pin to boot! So, there you have it.
On a side note, I am looking at getting a rosette die - either the Memory Box or Tim Holtz, after I read this article. I want one that I can adjust in size. I hope the article covers that!
And by the way, I haven't had a chance to look at Cathe Holden's new book, Rosette Art but I am sure it is fabulous.
Let me know if you have suggestions on improvements - I'm open.
No comments:
Post a Comment